There are two ways to approach a retro gaming setup. The first is the purist route — original hardware, original cartridges, original controllers, ideally a CRT television that weighs as much as a small car. The second is the practical route — modern hardware that plays the classics, a flat screen that actually fits in your flat, and a setup you can realistically have running in a weekend rather than six months of eBay hunting.
Most people end up somewhere in the middle. This guide covers both ends and everything between — the display, the hardware, the controllers, the storage, the accessories — with specific picks at every price point so you can build something that works for your space, your budget and your level of commitment to the bit.
Heads up: Some links in this article are affiliate links. If you buy something, we may earn a small commission at no extra cost to you. Every pick is chosen because it’s genuinely good, not because of the commission.
Step 1 — The Display
This is the decision that shapes everything else. What you play on determines what hardware makes sense, what cables you need and how authentic the whole thing feels.
Option A: CRT Television
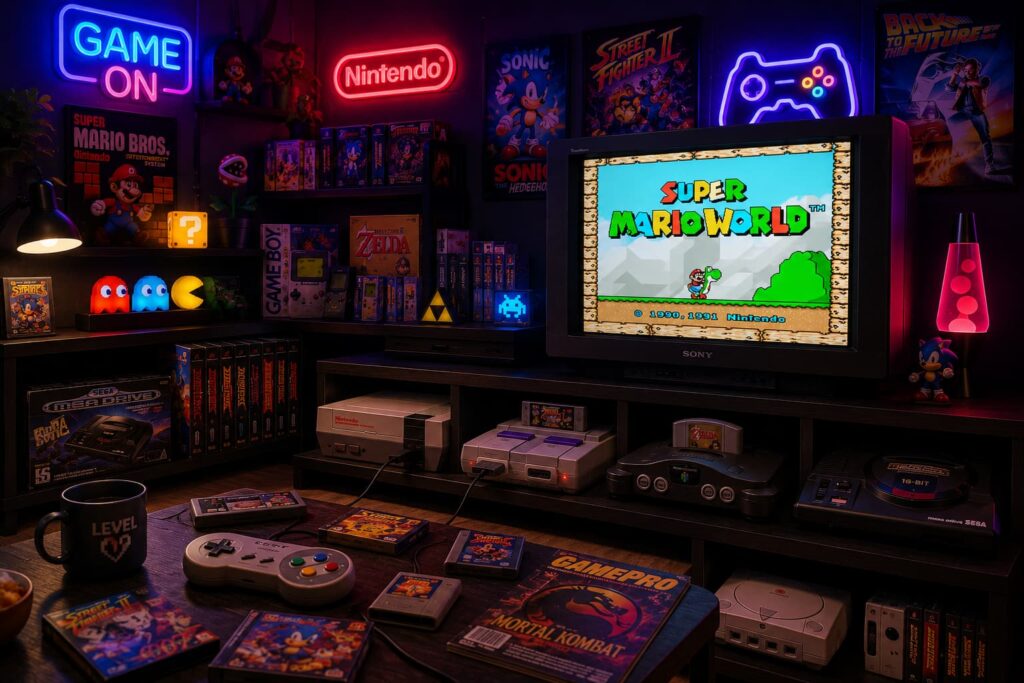
The purist choice. Original consoles were designed for CRT displays — the scanlines, the slight blur, the way colours bleed into each other slightly are all features, not bugs. Games like Sonic the Hedgehog, Street Fighter II and Super Mario World were literally drawn assuming they’d be displayed on a CRT. On a modern flat panel they look sharper but somehow less right.
Finding a good CRT in 2026 is harder than it used to be but not impossible. Charity shops, local Facebook Marketplace, university end-of-term clear-outs. A Sony Trinitron in good condition is the gold standard. A 14-inch bedroom TV with a SCART socket will also do the job.
The catch: CRTs are heavy, bulky, and need the right cables for each console. If you don’t have one already, sourcing a good one takes time.
Option B: Modern Flat Screen with Upscaler
The practical choice. A modern TV or monitor paired with a video upscaler — a device that takes the old analogue signal and converts it to clean HDMI — gives you a setup that fits in a modern flat, looks genuinely good, and works with every console you own.
The BITFUNX RetroScaler2x handles composite and S-Video input and outputs via HDMI, making it a solid affordable option. For most people it hits the sweet spot between price and image quality.
The catch: A good upscaler costs money. Budget for it properly rather than using a cheap passive adapter that will make everything look like a screenshot taken on a Nokia.
Option C: Plug and Play Mini Console
No display decision needed — just connect via HDMI to whatever you already own. The least authentic option but by far the most convenient, and a perfectly valid way to play classic games without any setup complexity.
Step 2 — The Hardware
Original Consoles
If you want the real thing, start with what you already have. A childhood console in a box somewhere is the foundation of a retro setup — get it cleaned, get the right cables, test it.
If you’re buying: PlayStation 1, N64, SNES and Mega Drive are all readily available second-hand in good condition. The Game Boy Advance SP is the best handheld option for anyone who wants a screen they can actually see. Prices have risen but remain reasonable compared to rarer hardware.
Mini Consoles
The plug-and-play option. A classic-library mini console with two controllers included is the lowest-friction entry point — plug in, play immediately, no configuration required.
Modern Handhelds with Retro Libraries
A growing category. Devices that run classic games via modern hardware. The most important thing to look for: a decent screen, proper buttons and good battery life. The Analogue Pocket is the premium option — it plays original Game Boy, GBC and GBA cartridges on a beautiful modern display.
Step 3 — The Controllers
Original controllers are part of the experience. The weight of an N64 pad, the specific resistance of a PS1 D-pad, the satisfying click of a SNES button — these are tactile memories as much as visual ones.
For modern use: A wireless retro-style controller with broad compatibility is the most practical solution. Works with Switch, PC, Android and Raspberry Pi setups, rechargeable, no lag worth mentioning.
For authenticity: Original controllers, cleaned and tested. USB adaptors let you use original SNES, N64 and PS1 controllers with a PC or Raspberry Pi setup.
Step 4 — The Accessories and Atmosphere
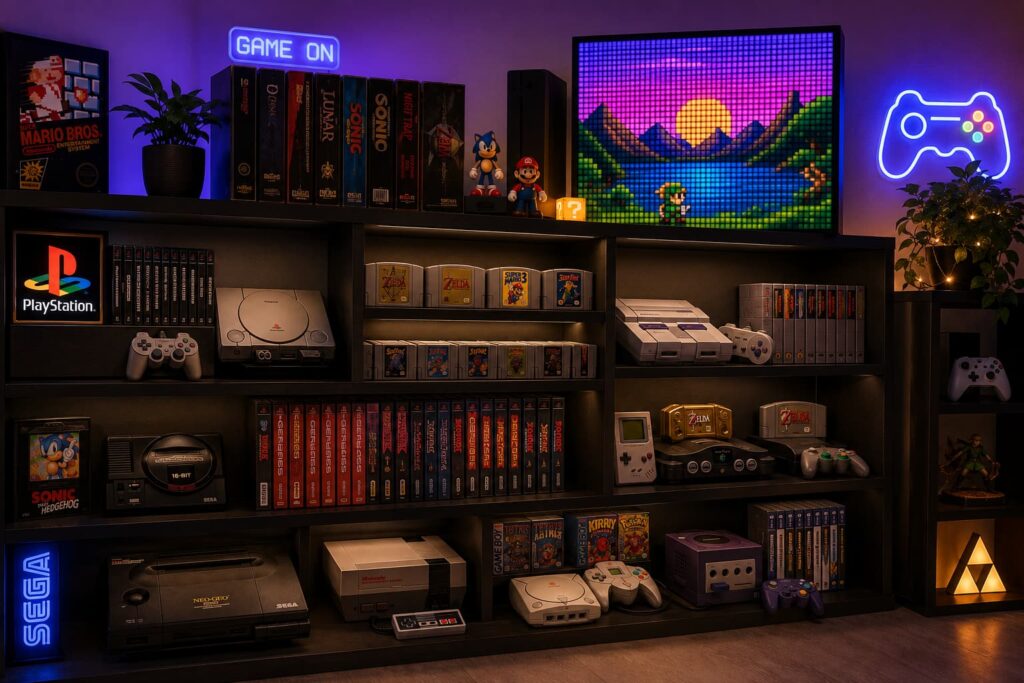
The setup is the game. A shelf of cartridges, a few well-chosen accessories, the right lighting — these are what transform a gaming corner into something that actually feels like a destination rather than a pile of cables.
Cartridge storage: Display cases, wall-mounted shelves, or proper cartridge boxes. Cartridges left loose get dirty and scratched.
Lighting: Retro setups benefit enormously from ambient lighting. A programmable LED panel displays pixel art, custom animations or retro-style clocks and adds exactly the right atmosphere without being overwhelming.
Cable management: The part no one talks about but everyone notices. A few velcro cable ties and a small cable box behind the setup makes the difference between «cool retro corner» and «chaos pile.»
🛒 The Picks
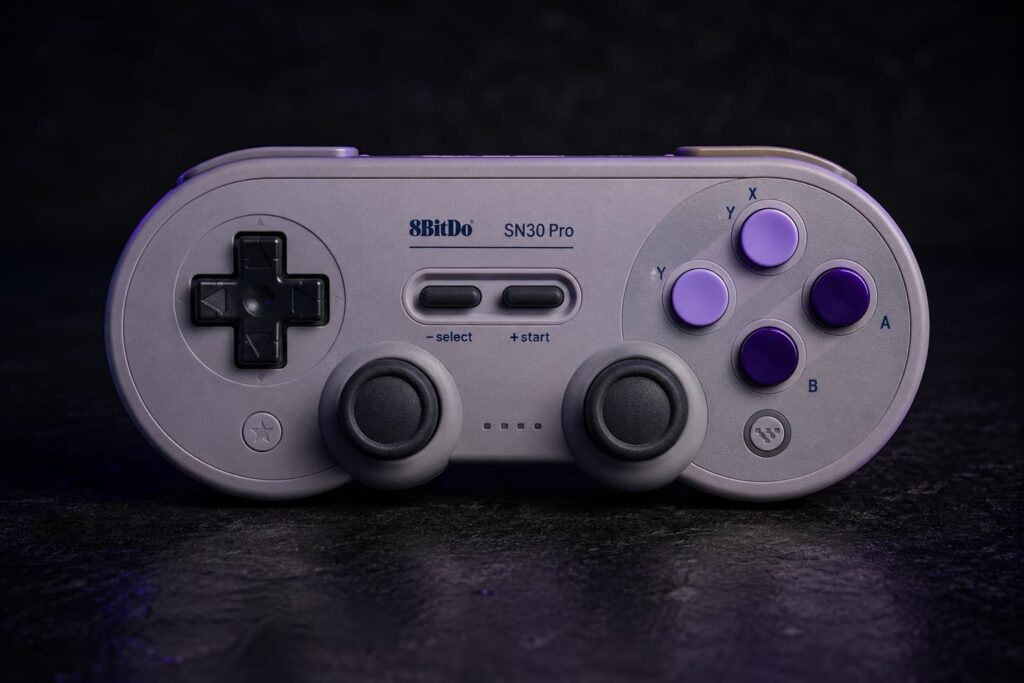
🎮 Wireless Retro Bluetooth Controller
A wireless controller styled after the classic pad layout — works with Switch, PC, Android and Raspberry Pi via Bluetooth or USB. Broad compatibility means it works across every platform in your setup without switching cables or receivers. Rechargeable battery, solid build quality, satisfying button feel.
If you only buy one controller for a retro setup, a wireless pad with this kind of compatibility is the right call.
Best for: Anyone who wants wireless freedom across multiple platforms without managing multiple controllers.
Price range: $25–$40
🕹️ Classic Mini Retro Console with Controllers
The lowest-friction entry point into a retro setup. Plug into HDMI, connect the included controllers, play immediately. No configuration, no cartridges, no cables to source. A preloaded library of classic-style games included — ideal for someone who wants the experience without the archaeology.
Best for: Casual retro players, anyone who wants something playable immediately, a great shared-TV option.
Price range: $35–$55
🟪 Divoom Pixoo-64 Pixel Art LED Display
The atmosphere piece. A 64×64 pixel LED panel you program via app — show retro sprites, animated clocks, weather displays, custom pixel art. On a shelf behind a retro setup it looks extraordinary. The app is well-designed, the display is bright without being aggressive, and it pulls the whole aesthetic together in a way that’s hard to articulate until you see it in person.
Best for: Anyone building a dedicated retro gaming corner who wants it to look intentional.
Price range: $65–$80
📺 BITFUNX RetroScaler2x — Video Upscaler
The essential piece of kit for anyone connecting original consoles to a modern display. Takes composite and S-Video signals and outputs clean HDMI. Plug and play with no configuration required — a tangible improvement over cheap passive adapters that degrade the image.
If you have original consoles and a modern TV, you need this or something like it. The cheap adapters ruin the image. The RetroScaler doesn’t.
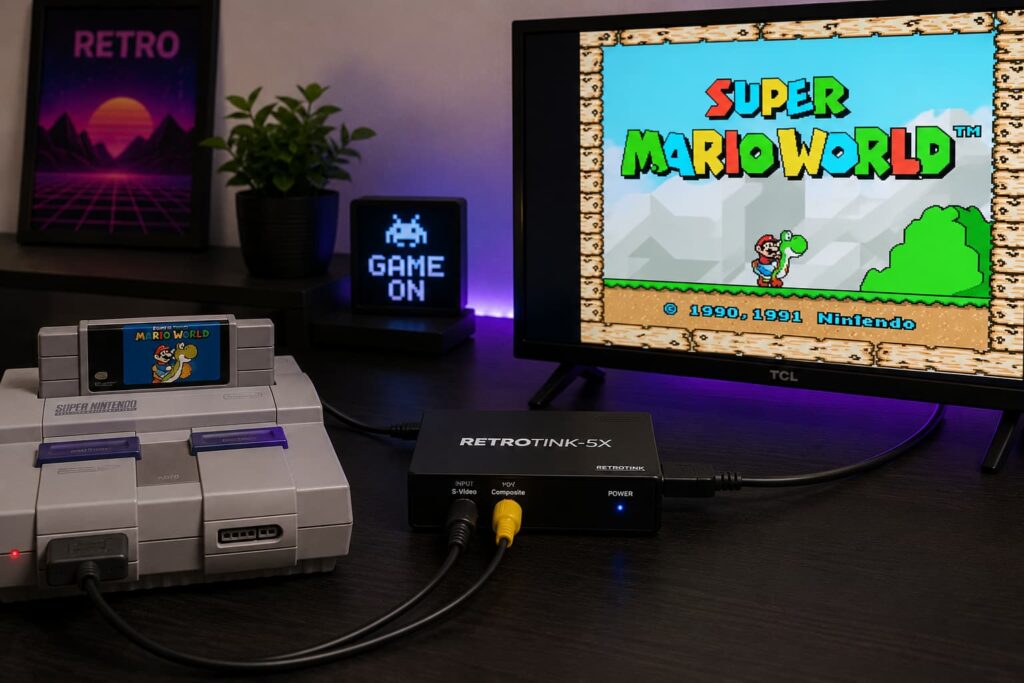
Best for: Anyone using original PS1, N64, SNES, Mega Drive or similar hardware on a modern flat panel.
Price range: $35–$50
🎒 Aproca Handheld Gaming Carrying Case
For the handheld side of the setup. Compact, well-made case that fits modern handhelds and keeps everything together and protected. The kind of small organisational piece that makes a setup feel considered rather than chaotic — and looks good on a shelf when not in use.
Best for: Anyone with a handheld component to their retro setup who wants to keep it organised and protected.
Price range: $15–$22
💾 ABLAZE Cartridge-Style USB Flash Drives (Mixed Pack)
The finishing touch. Flash drives shaped like classic game cartridges — use them for data storage or just display them on a shelf alongside your setup. The kind of object that makes people stop and ask where you got it. Comes in a mixed colour pack, which looks great as a small shelf display.
Best for: The detail that makes a setup feel complete. A great small gift that slots perfectly into a retro gaming corner.
Price range: $10–$18
📊 Setup Tiers: What to Buy at Each Budget
| Budget | Display | Hardware | Controller | Atmosphere |
|---|---|---|---|---|
| Under $100 | Your existing TV | Classic Mini Console | Included controllers | Cartridge USB drives |
| $100–$250 | Your existing TV + RetroScaler2x | Mini Console + 1 original console | Wireless retro controller | Cartridge USB drives |
| $250–$500 | Modern monitor + RetroScaler2x | 2–3 original consoles | Wireless + original pads | Pixoo-64 + cable management |
| $500+ | Sourced CRT or premium monitor | Original consoles + Analogue Pocket | Full original controller set | Full shelf setup + Pixoo-64 |
✅ Pros and Cons of a Retro Gaming Setup
Pros
- Screen-free gaming with genuine skill and challenge
- A shelf display that looks intentional and sparks conversation
- Games that are genuinely excellent and largely free of microtransactions
- Hardware that holds or increases in value over time
- A hobby with a clear endpoint — you can actually finish building it
Cons
- Original hardware sourcing takes time and patience
- Cable management is genuinely annoying until you commit to solving it
- CRT sourcing is increasingly difficult in 2026
- Storage for cartridges and consoles requires dedicated shelf space
- Good upscalers cost more than most people expect
❓ Frequently Asked Questions
Do I need a CRT for a retro gaming setup?
No — a CRT gives the most authentic image for original hardware but a modern display with a quality upscaler like the RetroScaler2x gives excellent results. Most people find the practical benefits of a flat panel outweigh the image authenticity of a CRT.
What’s the best console to start a retro collection with?
The SNES and PlayStation 1 have the strongest libraries relative to hardware cost. The N64 is more expensive but has iconic titles unavailable elsewhere. Start with whatever console you have the strongest childhood memory of.
Can I use original controllers on a modern setup?
Yes. USB adaptors let you use original SNES, N64, PS1 and Mega Drive controllers with a PC or Raspberry Pi. A wireless retro controller with broad Bluetooth compatibility also covers most use cases in a single purchase.
How much does a decent retro setup cost?
A functional setup using a mini console and your existing TV can be under $100. A proper original-hardware setup with upscaler, controllers and atmosphere pieces typically runs $250–$500. A serious CRT-based multi-console setup can run significantly more.
What’s the best retro console for a beginner?
A plug-and-play mini console is the lowest-friction start. If you want original hardware, the PS1 is the easiest — games are cheap, the console is abundant, and the library is enormous.
🏁 Conclusion and Final Recommendations
A retro gaming setup doesn’t have to be complete to be good. Start with what you have — a TV, one console, one controller — and add pieces over time as you work out what you actually use.
Start here: Classic Mini Console + Wireless Controller — under $90 combined, playable immediately.
Add next: RetroScaler2x when you’re ready to bring in original hardware. Pixoo-64 when you want the corner to have atmosphere.
The finishing touch: Cartridge USB drives on the shelf. Aproca case for the handheld. Done.
More retro picks and buying guides live in the Memory Vault. And for daily setups, throwbacks and community memories, find us at @analog.knights on Instagram.